


Hi guys Today, we’re going to see how to put your WordPress site in maintenance mode. Let’s say you have a website And you’re making some changes to it. Now, until you finish making changes to your site, you can show a maintenance page to your visitors.
You can do that easily by reading this article. So after reading this article, you’ll be able to add a maintenance page like to your website, And you will be able to let you know when your site will be back using a countdown timer.
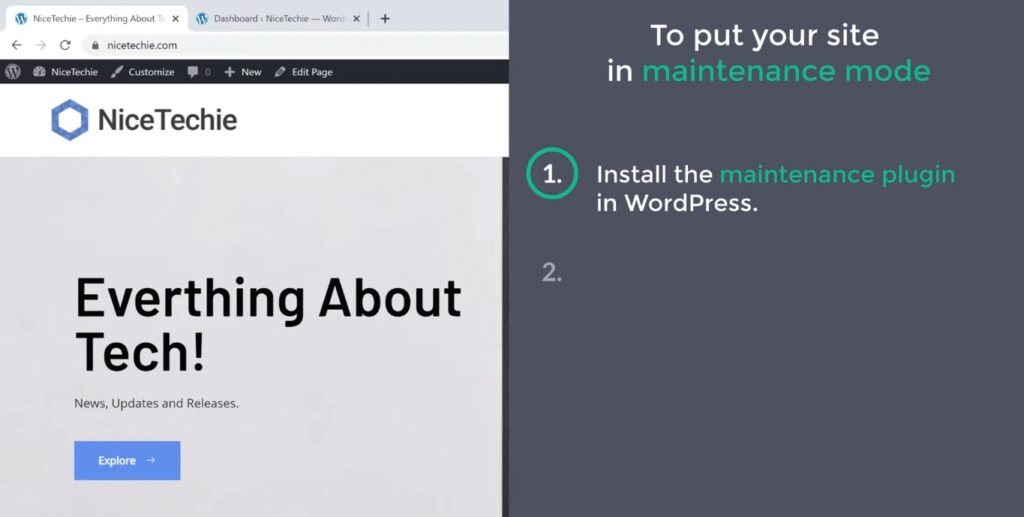
Let’s get started. First, Let’s see the website, which I have built using WordPress. So here it is Now to put your site in maintenance mode, we are going to do two steps. The first step is to install the maintenance plugin in WordPress.
Install maintenance plugin – To Put Your WordPress Site In Maintenance Mode
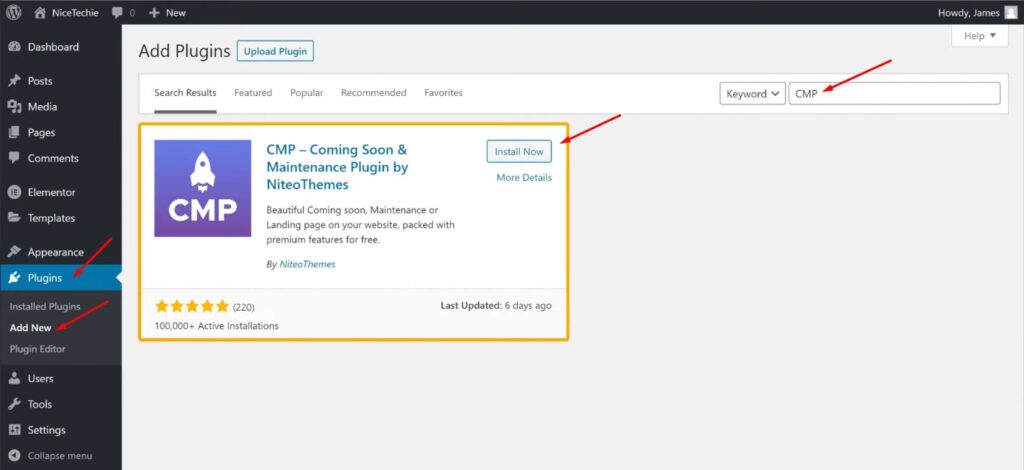
So to install the plugin, let’s go to our WordPress dashboard. Now go to plugins And click add new. Here, search for a plugin called “CMP.” and you will get this plugin. Now, this is the plugin that will help us add a maintenance page to our website. So to install this plugin, let’s click install. And then click “Activate.” Now we have successfully installed the maintenance plugin in WordPress.
Okay. Now, once you’ve installed the plugin, we can go to the second step. which is to create a maintenance page for your site.
Create a maintenance page
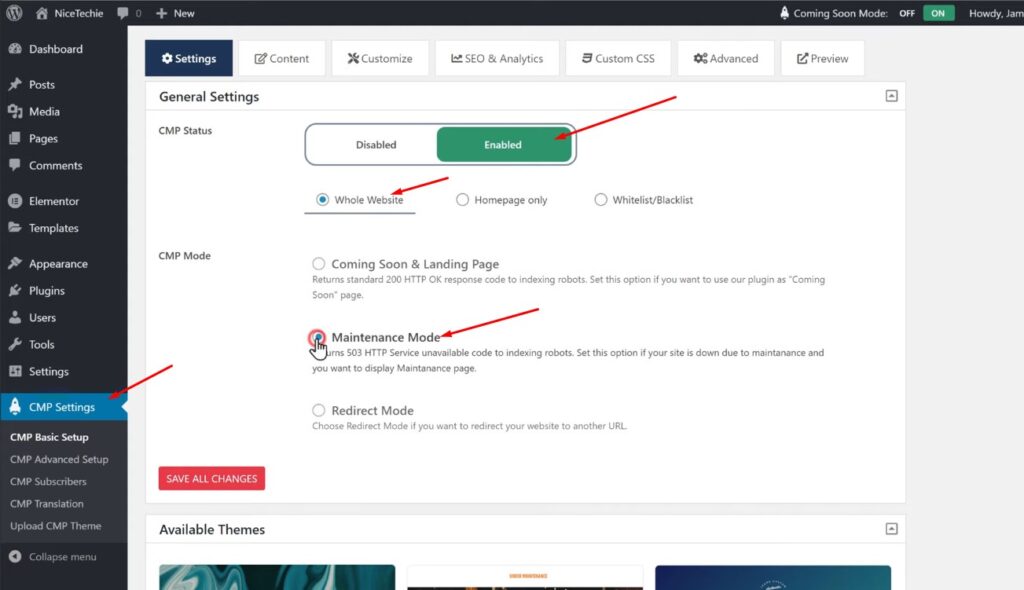
So to create it, Let’s go to CMP settings. Now to create, the maintenance page. First, we need to enable this option. So let’s click “Enable.” Once you’ve enabled it. You will get these options. Now, if you want to put your entire site in maintenance mode, you can select “Whole Website” option. Or if you want to create a maintenance page, only for the homepage you can choose “Homepage only” option. As I want to put my entire site in maintenance mode, I’m going to keep it selected and then choose maintenance mode.
Now, If you scroll down, you will find different themes, which you can use for your maintenance page.
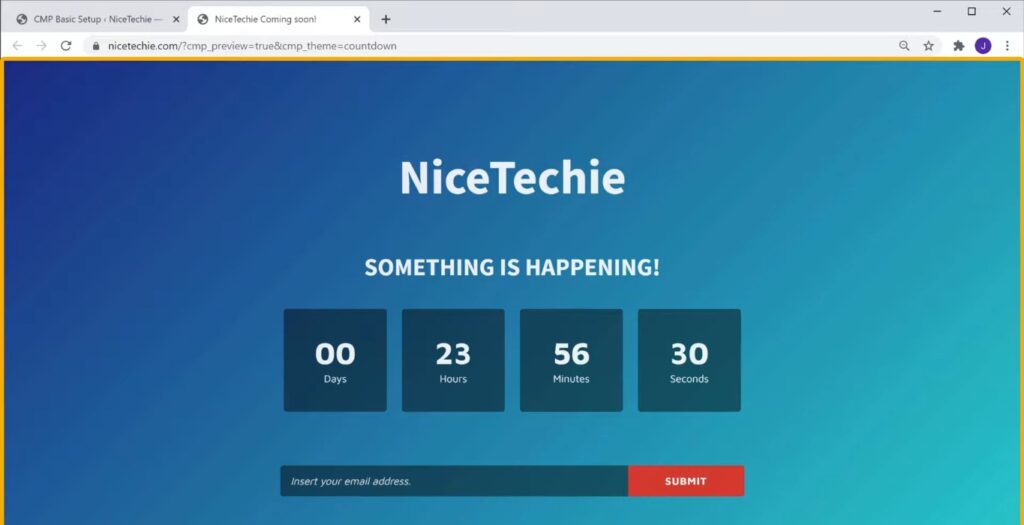
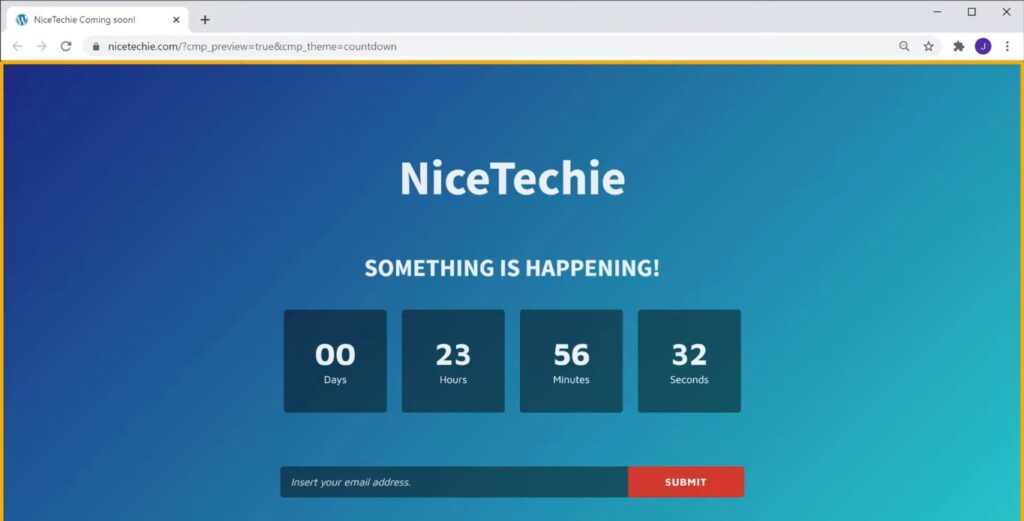
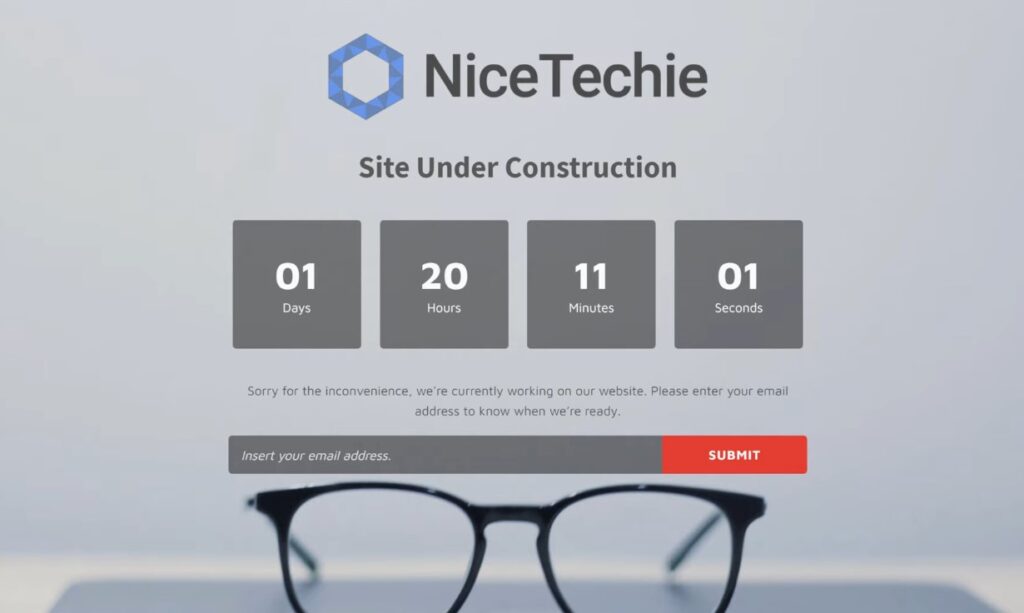
Here you can choose any theme you want, I’m going to select this theme. Now to see how it looks, let’s click preview. And this is how a maintenance page will look like.
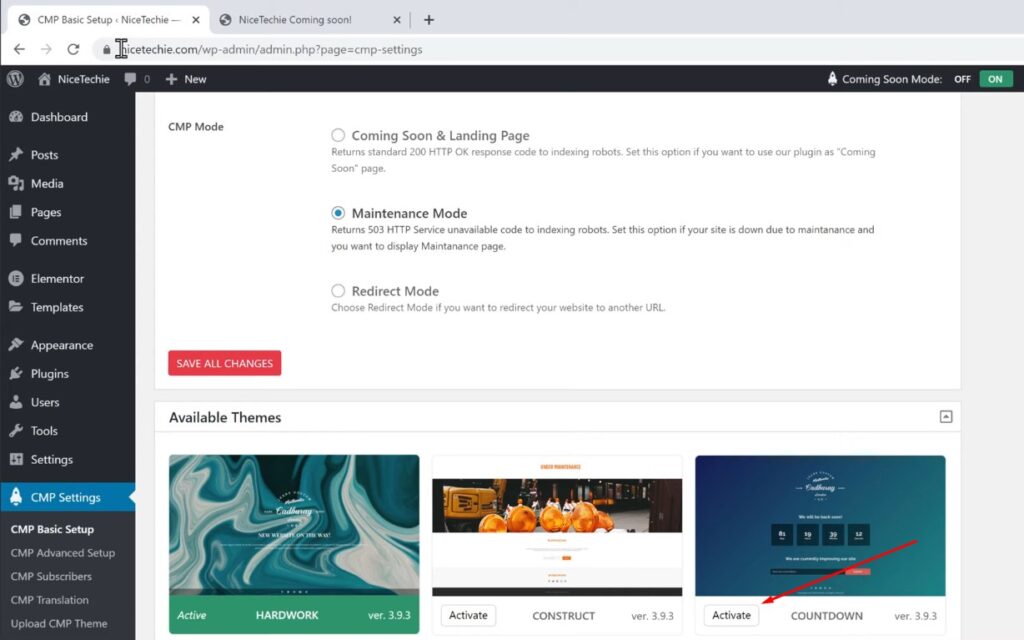
Once you selected the theme, let’s go back to our dashboard. and click “Activate.” Now we have successfully created the maintenance page for our website. And it will be displayed to our visitors when they try to view our site.
Okay. So to check that, Let’s open a new tab And go to our website Now here, you can see that the maintenance page does not appear. As we have logged in to our site, the maintenance page will not be visible for the admin. It will be seen by the visitors who have not logged into our site.
Now Let’s say a visitor goes to our site, You can see that, we now have the maintenance page instead of our site’s homepage. Okay, This is how you can put your WordPress site in maintenance mode.
Customize your maintenance page
Next, let’s see how you can customize this maintenance page. So to do that, let’s go back to our plugin settings.
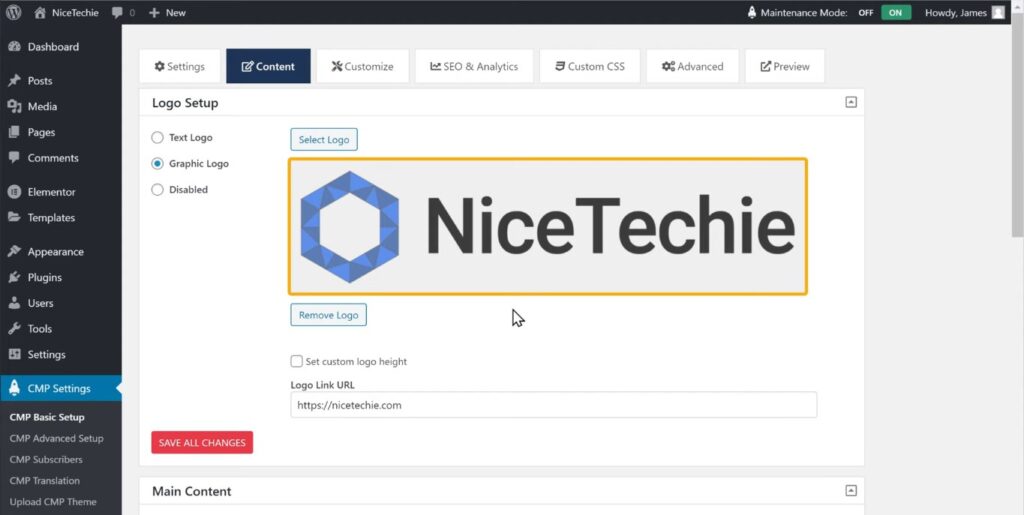
Now click content, And it will take you to this page. This is where we can edit and customize our maintenance page. Okay. So first we’re going to add a site logo here To add the logo to a maintenance page. We need to choose the type of logo since our logo is an image let’s choose graphic logo then upload the logo. So now our logo will be added to a maintenance page.
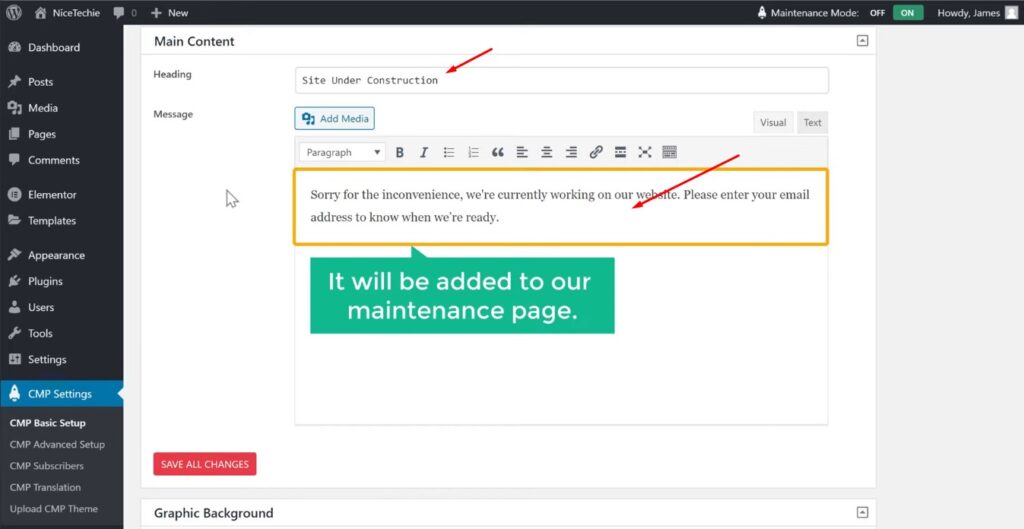
Next let’s see how you can change this heading. So to change the heading, Just scroll down. Now here, just delete old text, And type your own text. Now, if you want to add any other information to your maintenance page you can just type it here And it will be added to a maintenance page.
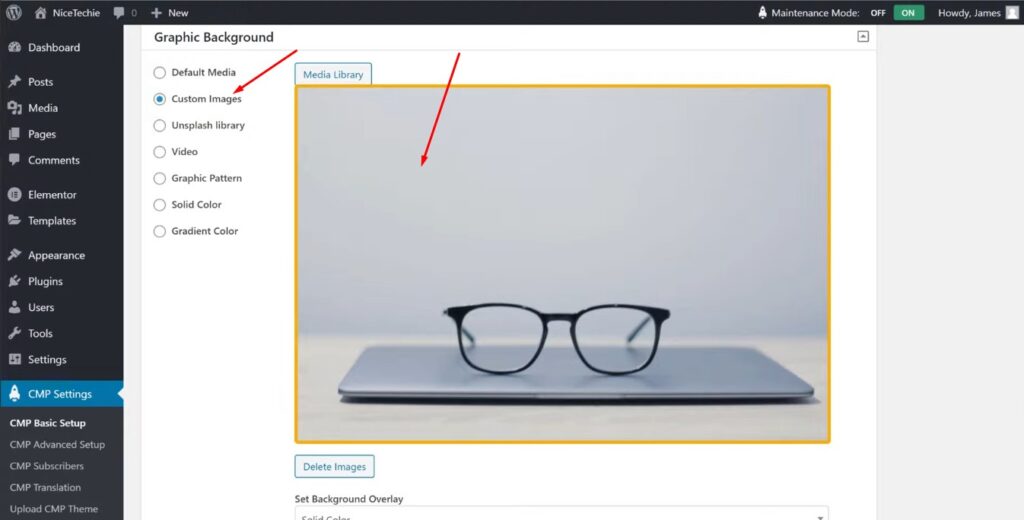
Next, let’s see how you can change the background image on your maintenance page. So the change, the background image choose “Custom Images.” and click “Media Library.” Now to change the background image, Just upload the image you want from your computer. Now, our background will be successfully changed.
Edit countdown timer
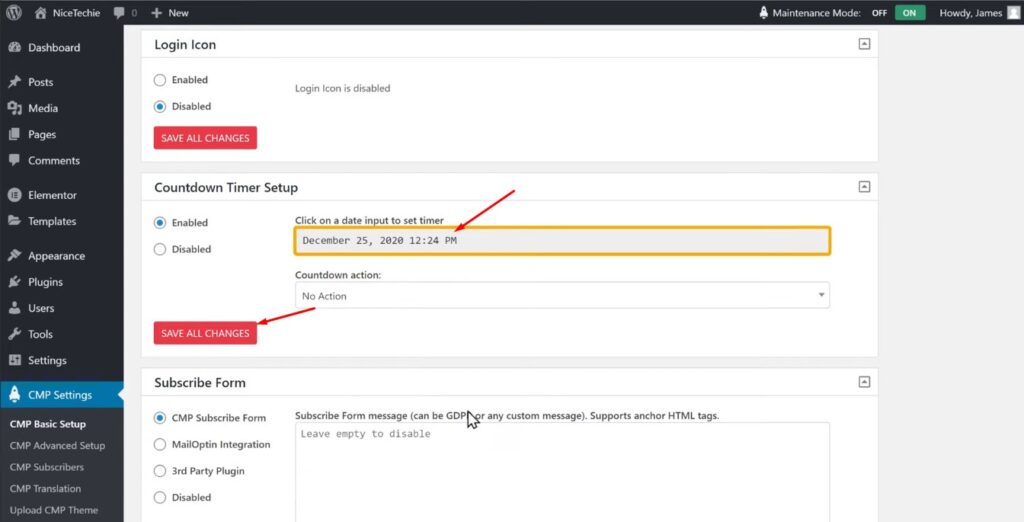
Okay. Next, we’re going to see how you can edit this countdown timer. So to do that, let’s scroll down And here you can see the date and time, which has given the timer Now to edit this countdown timer, Just click here. And select how long you want to show the maintenance page to your audience. So now we have edited the countdown timer. Once you’re done with all the changes, click save changes. So now we have successfully customized all parts of our maintenance page.
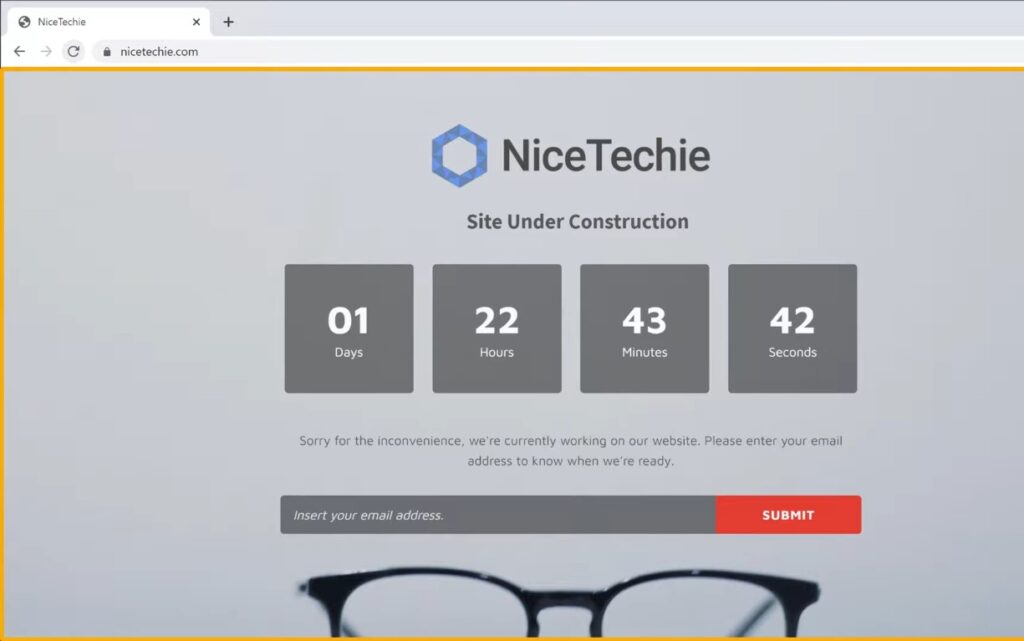
Now if we go back to our visitors browser, And click “Refresh.” You can see that the changes we made are successfully applied to a maintenance page.
Notify your visitors when your site is back
Now, If you see here, there is an option where your visitors can submit their email IDs so that we can notify them when our site is back.
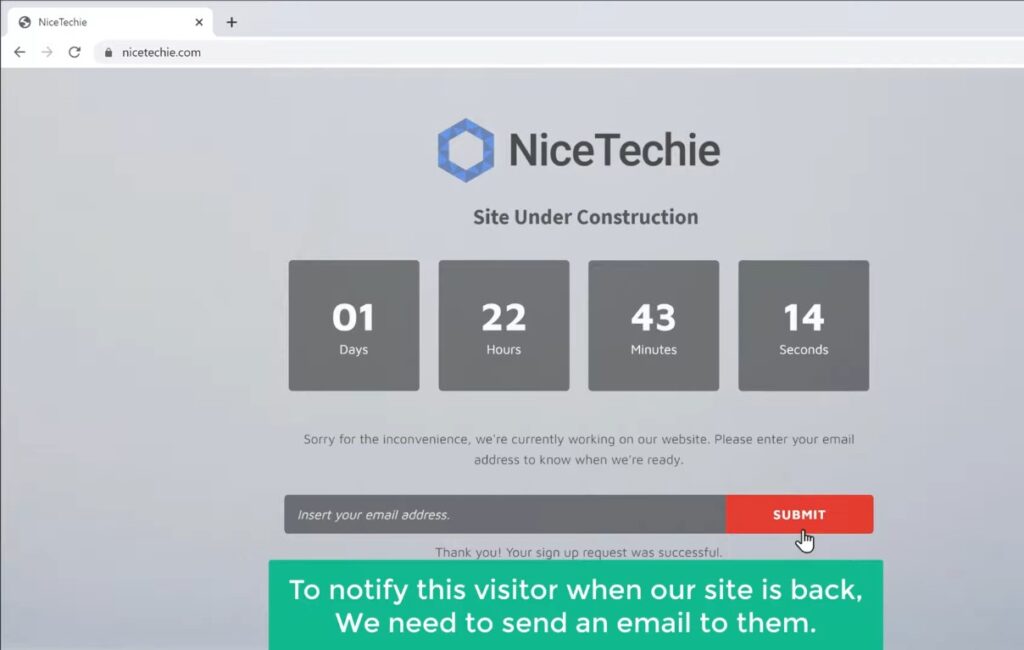
Now let’s say a visitor submits their email ID from a maintenance page. So to notify this visitor when our site is back, We need to send an email to them.
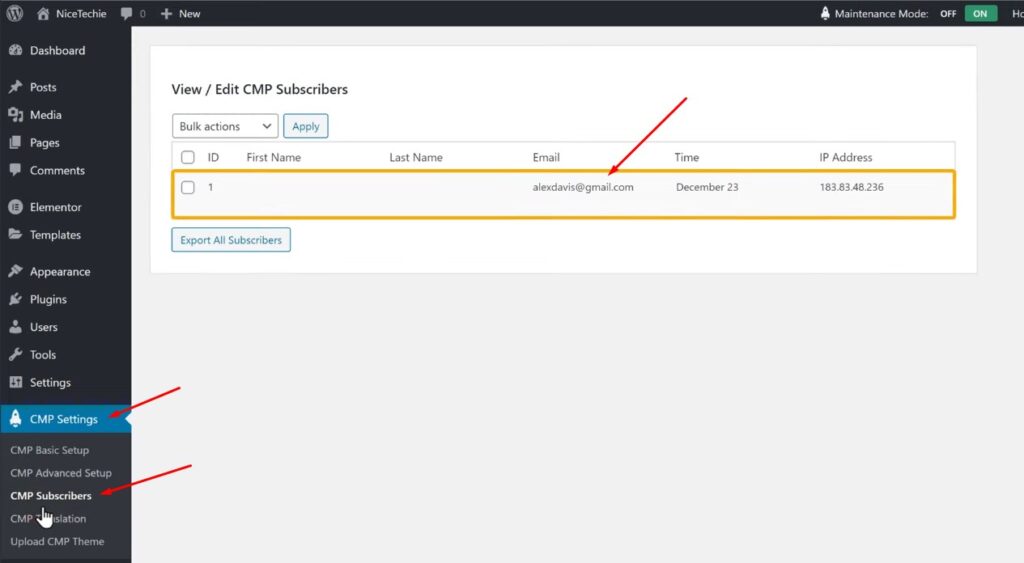
Now where can we find their email id So to find the email IDs of the visitors, Let’s go to our WordPress dashboard And click “CMP Subscribers.” Here you can see the email IDs of your visitors. Now we can send an email and notify them when our site is back.
How to disable/enable maintenance mode
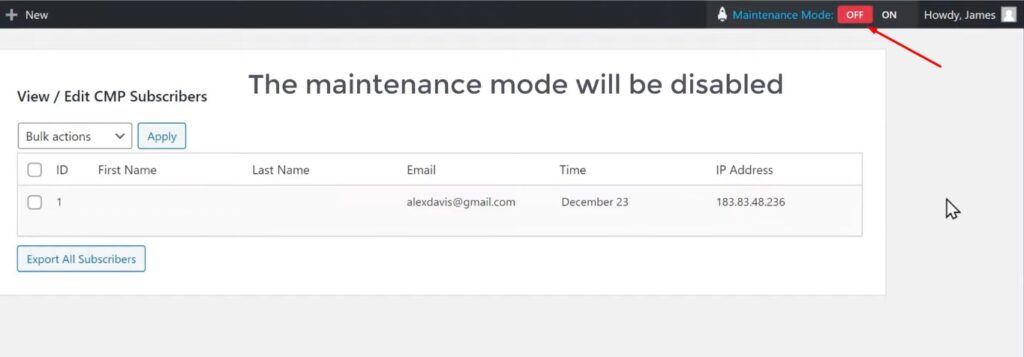
Okay. So next, let’s see how you can disable the maintenance mode and get your site back. So to disable the maintenance mode, Just go here and click “Off.” Now the maintenance mode will be disabled and our site will be back.
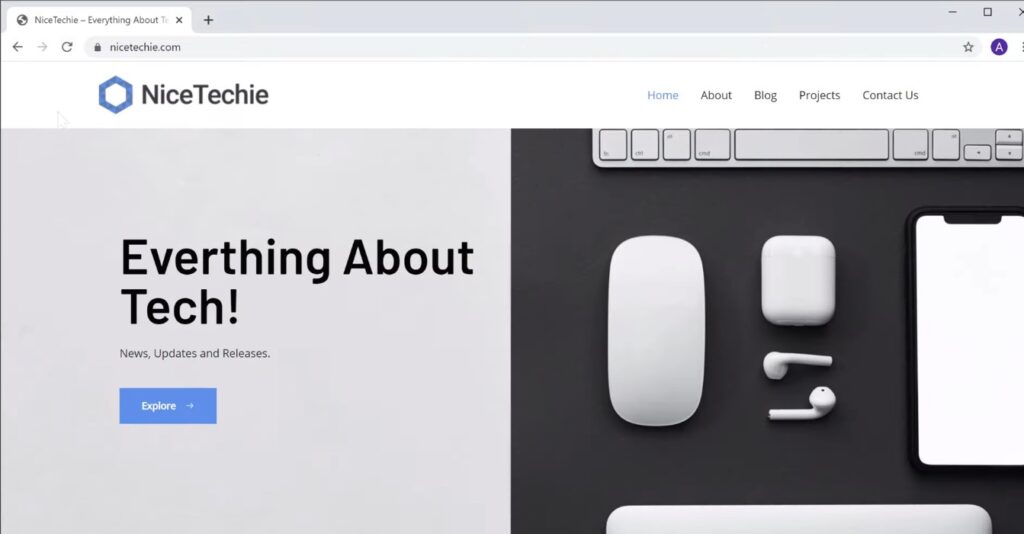
So to check that, Let’s go to our maintenance page, And click refresh. Here you can see that we have got our site back, And the maintenance mode is successfully disabled.
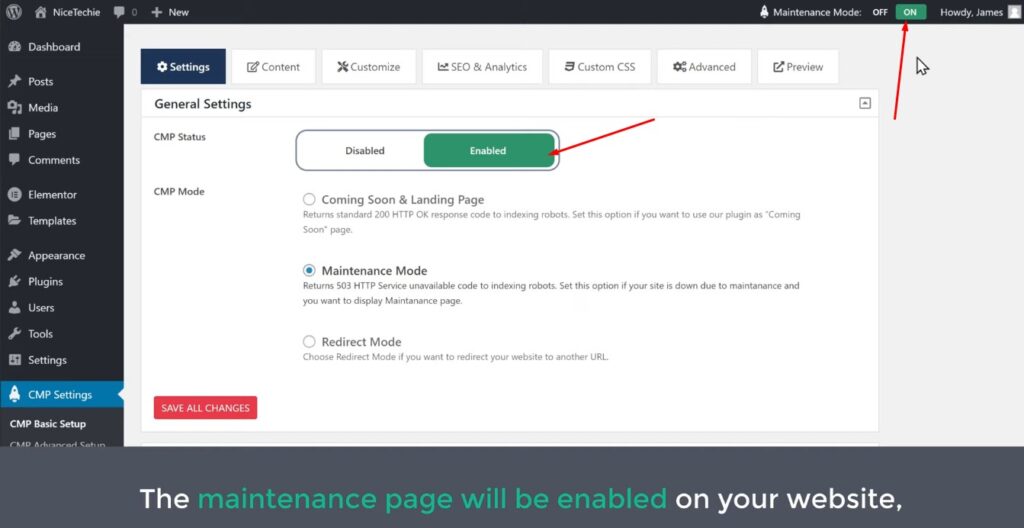
In the future, if you want to enable the maintenance mode again, Just go to your dashboard. And click “On.” Now, the maintenance page will be enable on your website, and you can customize it, just like we did before.
How to put specific page in maintenance mode
Okay. Now instead of putting the entire website in maintenance mode, How can you put a specific page under maintenance? So next we’re going to see how you can put a specific page in maintenance mode without affecting other pages on your site.
Okay. Now let’s say you’re making changes to your contact page And you want to display a maintenance page to your visitors. So to put your contact page in maintenance mode.
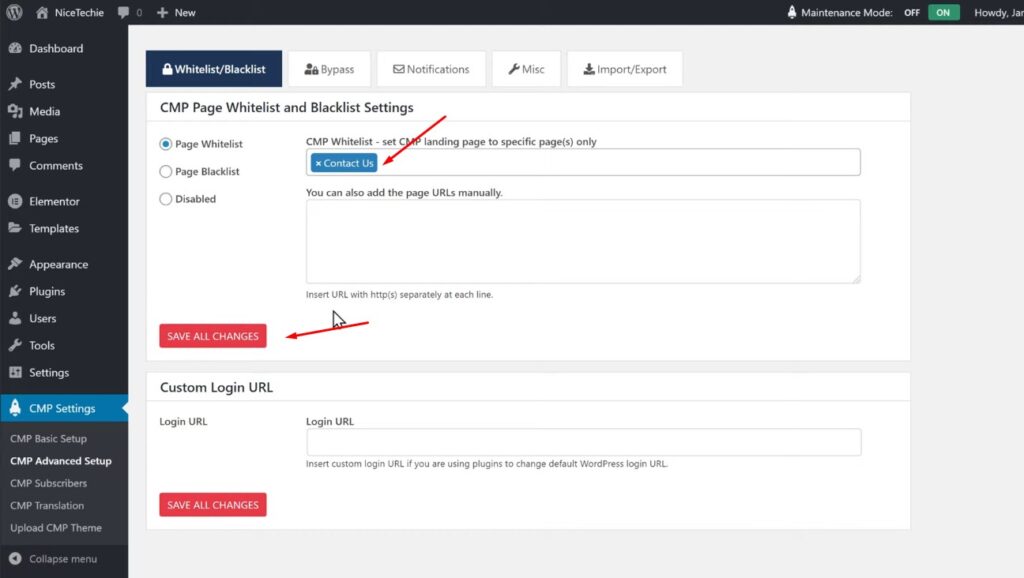
Let’s go to our dashboard And go to advanced And click “Page Whitelist.” So this is where you can set the maintenance mode for a specific page. Now, if you click here, You can see all the pages which you have on your site. Now, just select the page, which you want to put in maintenance mode. So lets select ‘contact page’. If you can’t find the page name, you can just copy the page URL and paste it here. And then click “Save changes.” Now we have successfully put our contact page in maintenance mode.
Now, if we go to our site and click contact us You can see that we now have the maintenance page instead of a contact page. So this is how you can put a specific page in maintenance mode in WordPress. Okay. So that’s the guys, This is how you can put a WordPress site in maintenance mode. Now, if you want to learn more about WordPress, visit our blog page.