


We’re sharing the second article of Plesk tips and tricks series you will learn how to configure the DNS for a domain in Plesk.
If you want see previous article please visit:
As you may know Plesk doesn’t register the domains but it hosts them. So before you will be able to manage the domain in Plesk you need to register it.
Domain Registrars
There are many registrars like GoDaddy, IONOS or Freenom etc. So an example in this article we will use the domain registered at freenom.

Let’s add it to Plesk, login to Plesk and go to the websites & domains page.

Let’s add a website, Here we are asked to fill in the properties of the website. We need to add a domain with the name that is an exact match of the one we have at Freenom. Then choose either shared a dedicated IP address. We’ll leave the default shared IP address, underneath username then generate password.
SSL/TLS certificate
To secure your domain with the SSL/TLS certificate we can check this option but this will not work until the domain is to be resolve. It will be resolve after we finish all DNS settings so we can do it later.
We have created the website on Plesk now we can configure DNS.
System converts internet names into IP addresses. Internet names are the easy to remember, names that we use to locate website’s IP address are the Internet Protocol addresses that each computer connect to a network is assign.
DNS allows user friendly names to be assign to an IP address. Then assignments that users can have a name to remember instead of a number. This also has the advantage of allowing the internet name to remain the same even if the IP address of the host server is change.

let’s proceed to the website we’ve created and choose their DNS settings. There is a list of DNS records and we are interested in the ones with the record type on “NS” meaning name server.

Also we need to know the IP address of our Plesk DNS server we can check it at system overview. Then it is require to change the name server for your domain at your domain registrar’s account.
FreeNom Manage Domain
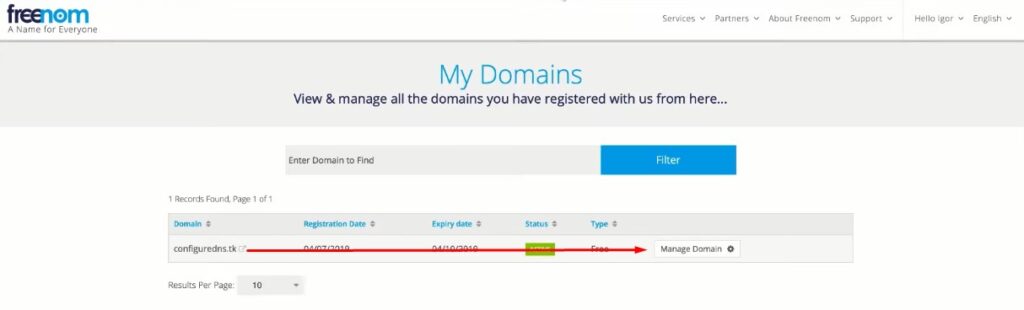
Let’s move to the freenom and go to manage domain to switch the freenom name servers to the plesk name servers.

Here choose use custom nameserver. The name should be the same. Provide DNS records from Plesk NS1, NS2. The nameservers are switch from the registrars to the custom ones.

Also we need to register glue records for our domain. A glue record is a hint that is provided by the parent DNS server. It is need to prevent circular references. Circular references exist where the nameserver for the domain can be resolve without resolving the domain they’re responsible for.
The glue records are simply additional “A records” that are return with the DNS response. This additional “A records” allow the DNS client to locate the nameserver.

So at your registrar you need to provide DNS record from Plesk NS1 and IP address then NS2 and IP address.
Now that changes can take up to 48 hours to propagate depending on the registrar while we are waiting our domain to be resolved. We can use preview for a website to see how it works.

Let’s proceed to the website MXtoolbox.com and check if our domain works at Plesk server. Enter the name of your domain and make a DNS check.
So we’ve managed to configure DNS for our domain in plesk properly. If we move to the website we will see that it works.


