


Hi guys, Today we’re going to see how to add Facebook messenger chat in WordPress website. Let’s say you have a website. And you want to give your visitors a way to contact you using messenger chat, You can do that easily by reading this article.
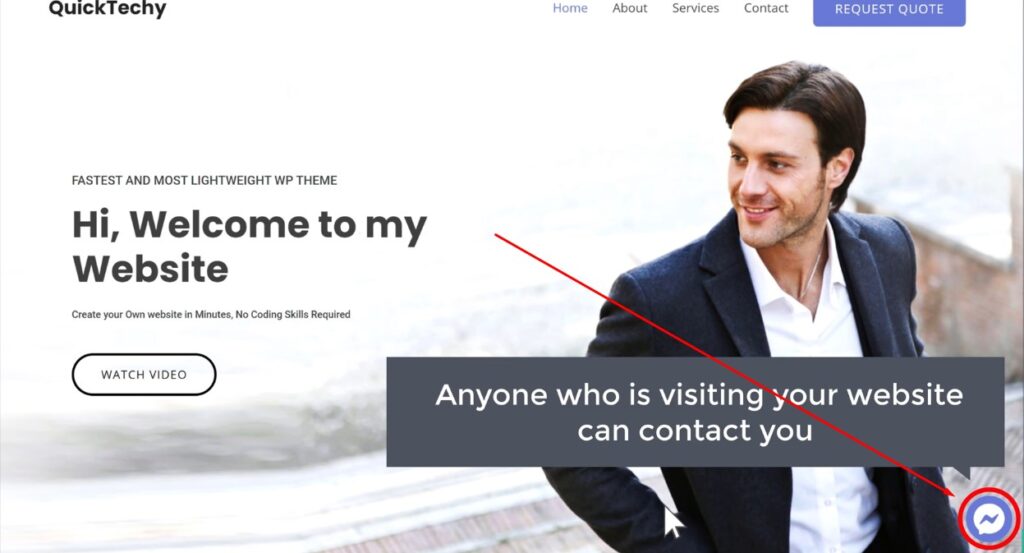
So after reading this article, you’ll be able to add the messenger chat like this. And anyone who is visiting your website can contact you, Just by clicking this icon. Now if the visitor types their message & sends it, you’ll receive that message on your messenger account. And now if you want to reply to the message, you can simply reply to your visitor.
Okay! so let’s get started. Let’s add the facebook messenger chat to our website. First, let’s look at the site where we want to add the messenger chat. To add the messenger chat, We’re going to do two steps, The first step is to Create a messenger chat for your website. So to create the chat, Let’s open a new tab, And then go to Facebook.com.
Create messenger chat for your website

Now login to your Facebook account. Once you’ve logged in, Go to pages. Now this is the Facebook page which I’ve created for my website.
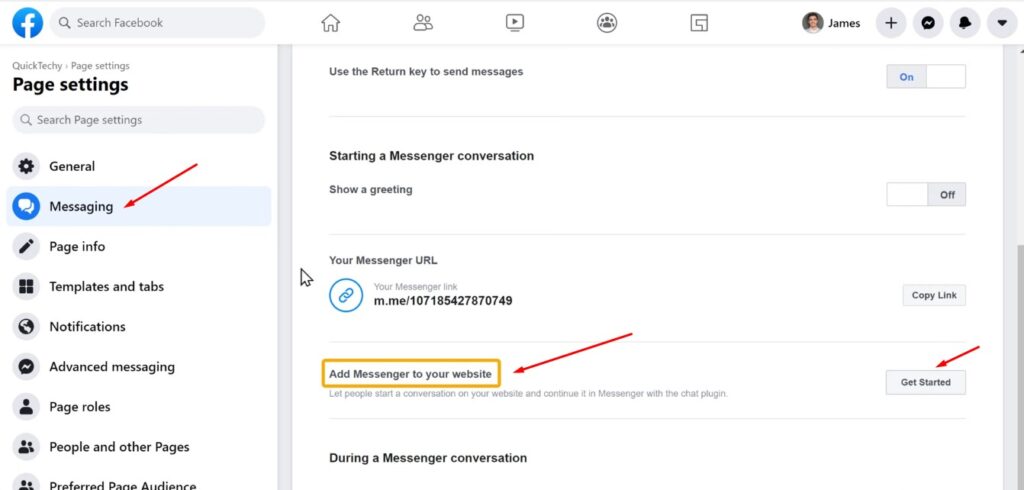
Okay, now to create a messenger chat for your website, Just go to settings. And click messaging, Now, if you scroll down, You can see that, we’ve got an option to add messenger to our site. So let’s click get started And then click next.
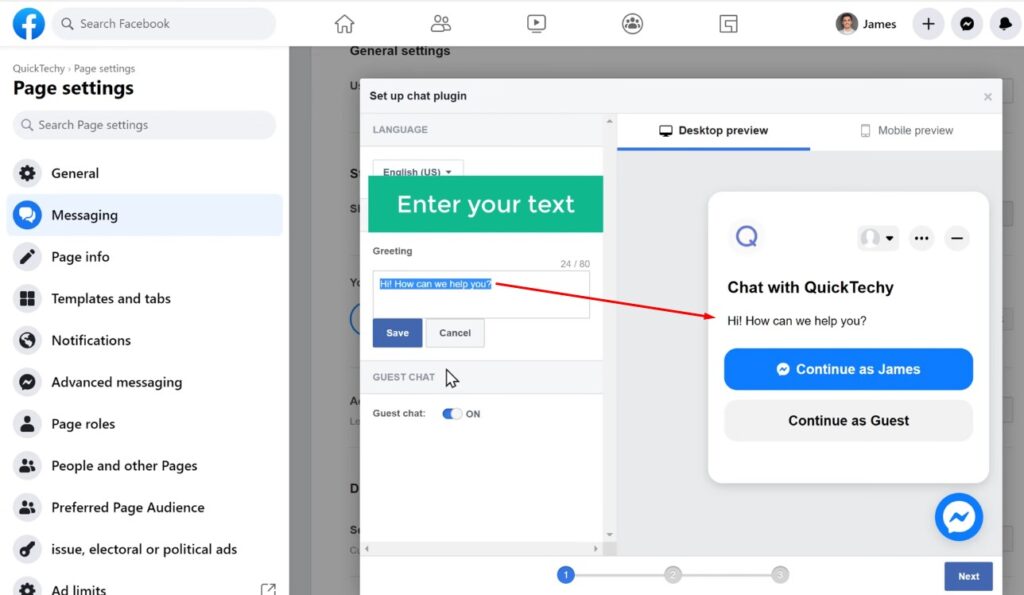
Now here you can see that, we have a live preview of the chat, which we’re going to create. And as you can see, we have a default text here, which will appear when a visitor opens this chat. Now, if you want to change this text, Just click here, And then enter your text. So I’m going to enter “welcome to Quicktechy” Once you’ve entered it, Click save. And you can see that, the text has been changed And then click next.
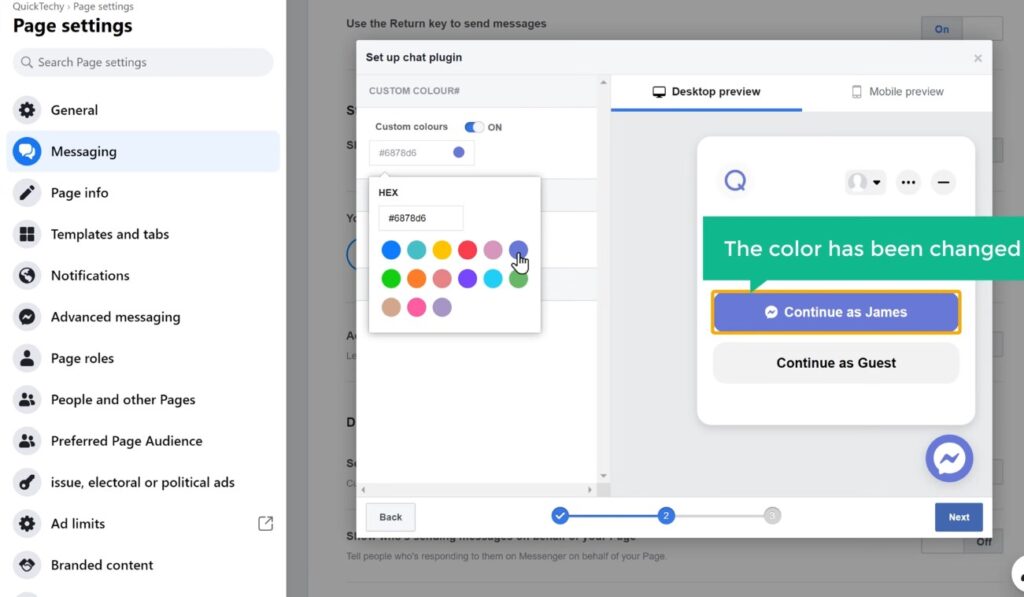
Now, if you want to change the color of your chat to match with your site You can click here, And choose the colour you want. And as you can see the colour has been changed Once you’ve done that, Click next.
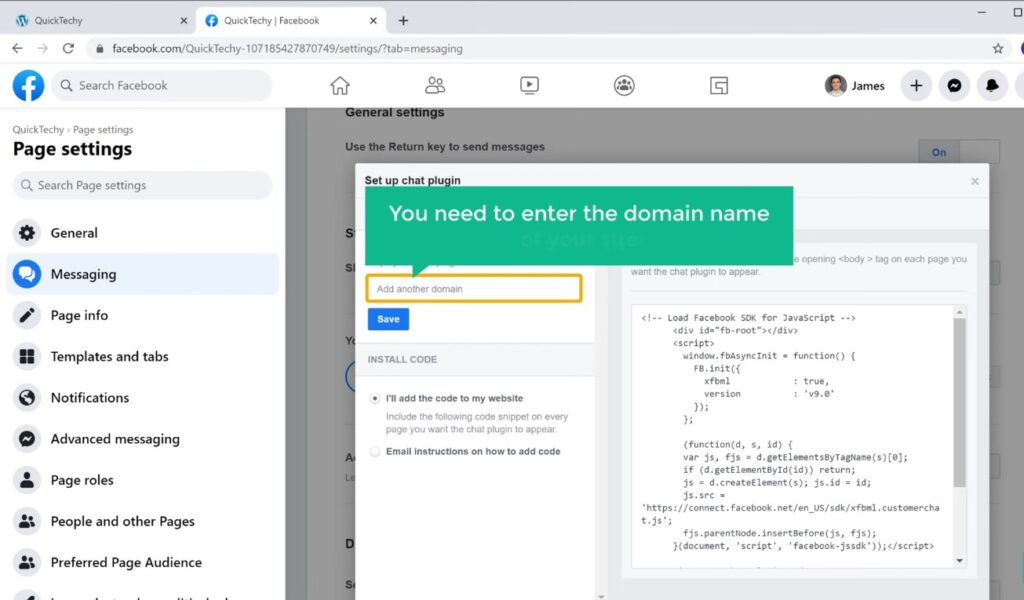
Now to complete creating the chat, Here you need to enter the domain name of your site. So to do that, Let’s go to our site, And then copy domain name, Now go back to this tab, And paste it here.
Once you’ve done that, Just click save. And now, our messenger chat will be successfully created. Once you’ve created the chat, We can go to the final step, which is to ‘Add this chat to our site’.

Now in order to add the messenger chat to our website. We need to copy this code and paste it on our website.
Adding Facebook chat on your website using Elementor
Let’s go to our site, Now let’s say you want to add the chat to your homepage. Just go to ‘edit with elementor,’ Now as we want to add the chat in the footer area, Let’s click footer.
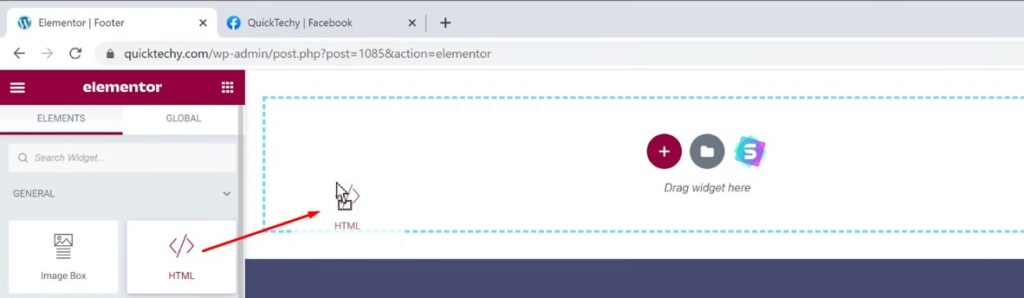
Now to add the chat, go here and click this plus icon, Now just drag this HTML element, And drop it here. Once you’ve done that, Now to add the messenger chat, All you have to do is. Just go back to Facebook tab, Now copy code, then go back, And paste the code in this box.

As soon as you paste it, You can see that our messenger chat has appeared here. So now to save the changes, Just click update, And our messenger chat will be successfully added to our site.

So to check that, Let’s go to our site, Now if we click refresh, You can see that we’ve now got our messenger chat on our site. Now, if a visitor wants to contact you All they have to do is, Just click on this icon.
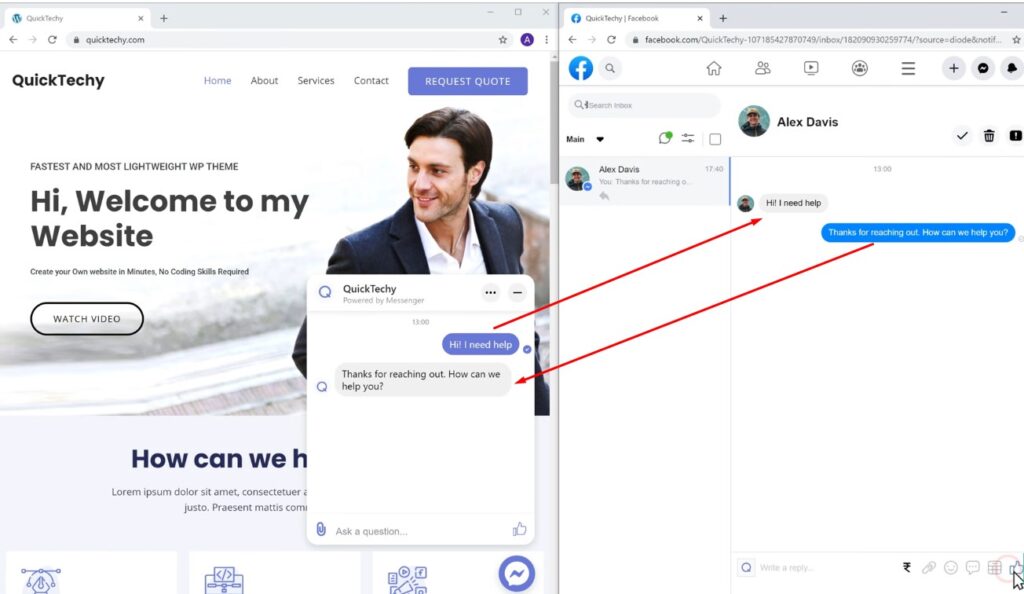
Now if the visitor has already logged into messenger, Now to chat with you They can just click continue. And if they type their message, And click send, You can see that, their message is sent. Now if you go to your Facebook account, You can see that we’ve received a new message notification. And if we open it, You can see we’ve received the message from our visitor. Now to reply to your visitor, All you have to do is, Just enter your message here, Click send. And the visitor will receive your message like this.
Okay, so this is How To Add Facebook Messenger Chat in WordPress Website.
Using messenger chat from mobile
Now let’s say a visitor is visiting your site from their mobile. Now how can they contact you using messenger chat?

So next, let’s see how your visitors can contact you using messenger chat from their mobile, Now when a visitor opens your site on their mobile, You can see that we’ve got our messenger chat here, Now, if the visitor wants to contact you, All they have to do is, Just click this icon, And then click ‘chat in messenger’.
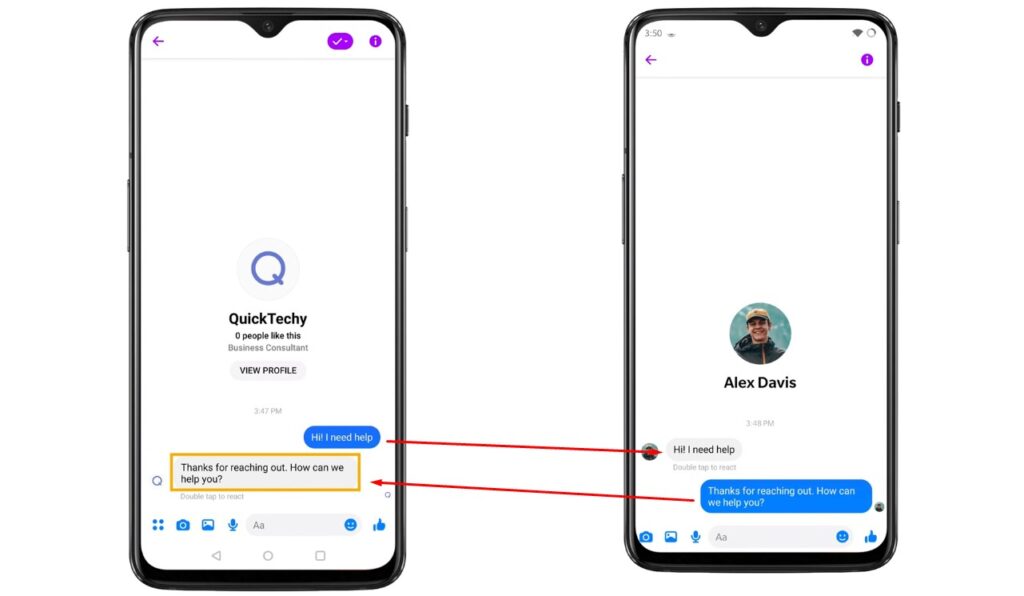
Now, if they enter their message, And click send, Their message will be sent. And if you open the messenger app on your mobile. You can see we received the message from our visitor Now to reply to your visitor, All you have to do is. Just open it, And then send your reply, And as you can see the visitor has got your reply.
Okay, so now you know how your visitors can contact you using messenger from their mobile.
Now what if your visitors do not have a messenger account.
How do visitors contact you as a Guest
How can they contact you using messenger chat? So next, let’s see how your visitors can contact you without logging into messenger. Let’s go to our site, And let’s say your visitor wants to contact you, and clicks this icon. Now, if your visitor does not have a messenger account.
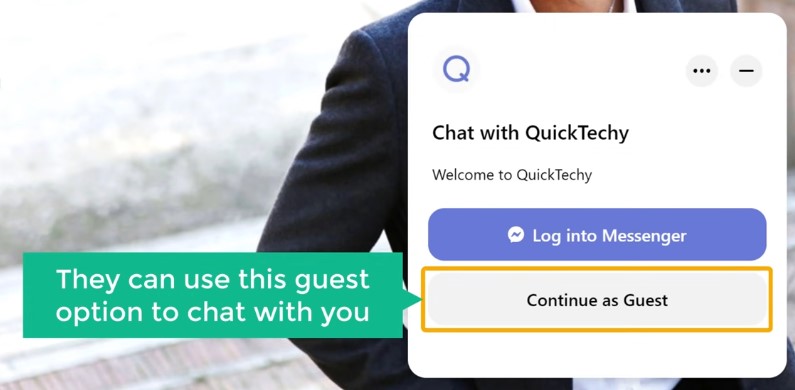
Instead of logging in to messenger They can use this guest option to chat with you. So let’s click it, As soon as you click it, You can see the chat has been open. Now the visitor can send their message here. And if you go to Facebook, You can see that, we’ve received a notification.
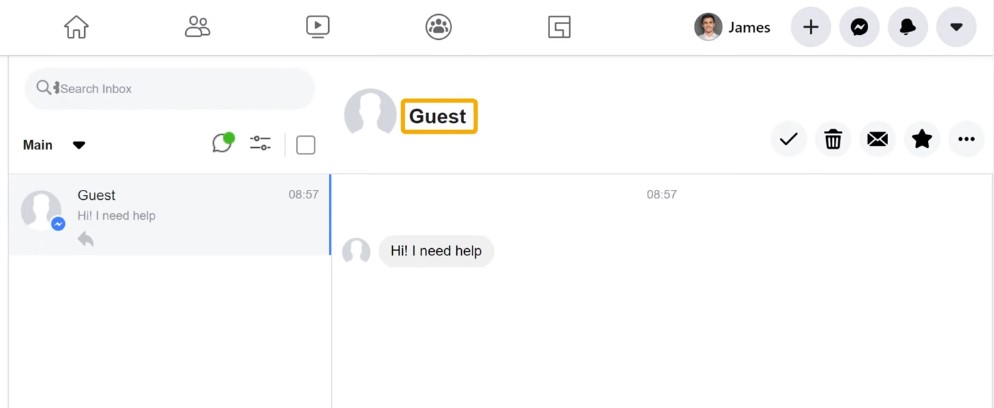
If we open it, You can see that we’ve got a new message from our visitor in the name of guest. And you can send your reply from here.
Okay, so this is how your visitors can contact you without logging into messenger.
Adding Facebook messenger chat using WordPress customize option.
Next, let’s see how you can add the messenger chat if you don’t have elementor on your site. Now this is the site which doesn’t have elementor. So To add messenger chat to this website, Like we did before, We need to copy code and paste it on our site.

So to do that. Just go here and click dashboard. Now go to appearance and click widgets, Now as we want to add the chat in the footer area. Just drag the HTML widget and drop it on ‘footer’. Now here we have to enter a name for your chat, I’m going to enter Facebook messenger.
Once you’ve done that, Now to add the chat, All you have to do is, Just go to Facebook tab, And then copy code. Now go back to your dashboard, And paste it here. Once you’ve done that, To save the changes, Just click save, And then click done.
And the messenger chat will be add to our site, now if we go to your site. And click refresh, You can see that, We’ve got the messenger chat on our site.
that’s it, guys, So now you know how to add Facebook messenger chat in WordPress website.
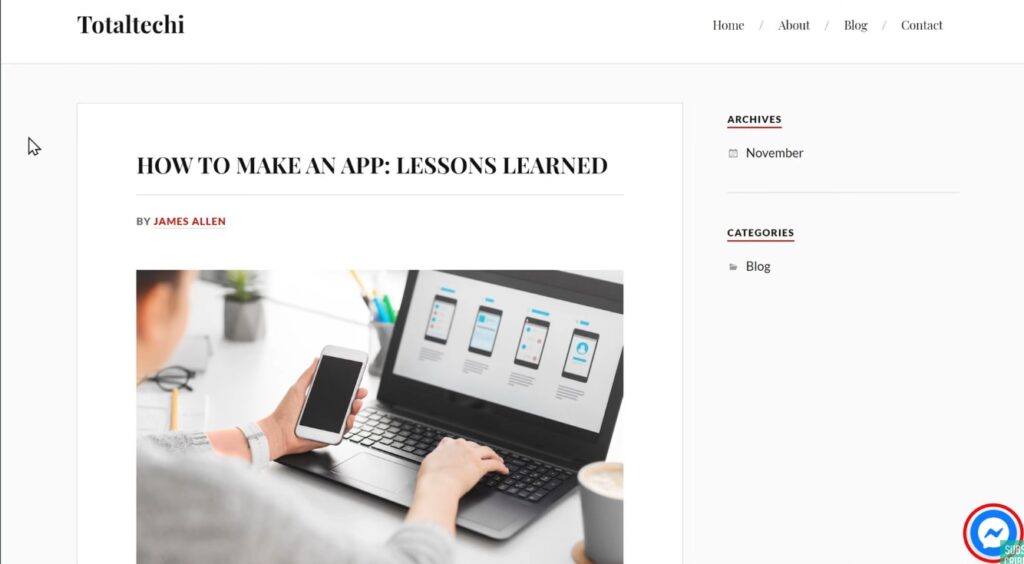
If you want to learn more you can visit our blog page.
